SystemMen - In this article, I will show you how to add a new domain in Zimbra admin.
For most mail system administrators, they can do this through the command line. But Zimbra provides us with a user interface to do that, so let’s use it.
Steps to add a new domain in Zimbra admin
The system I am using is Zimbra 8.8.12 on CentOS 7 operating system, running single server.
Below I will provide images in turn of the steps.
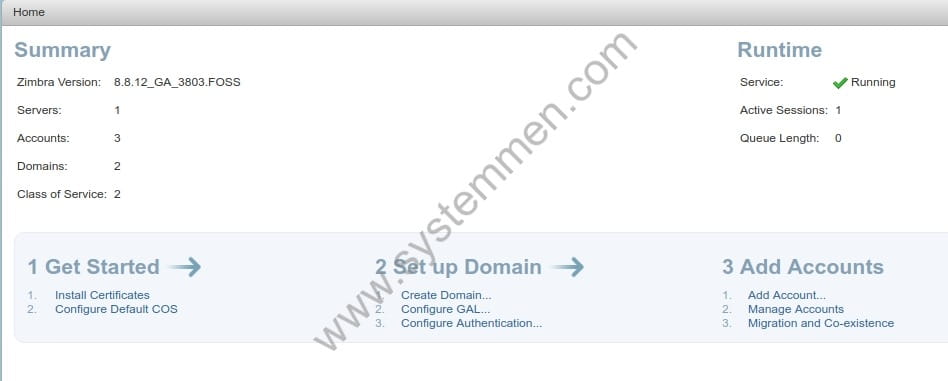
Step 1: Click “Create Domain…”
In main admin Zimbra window, you click on Create Domain… in part 2 Set up Domain.
Step 2: Enter your new domain
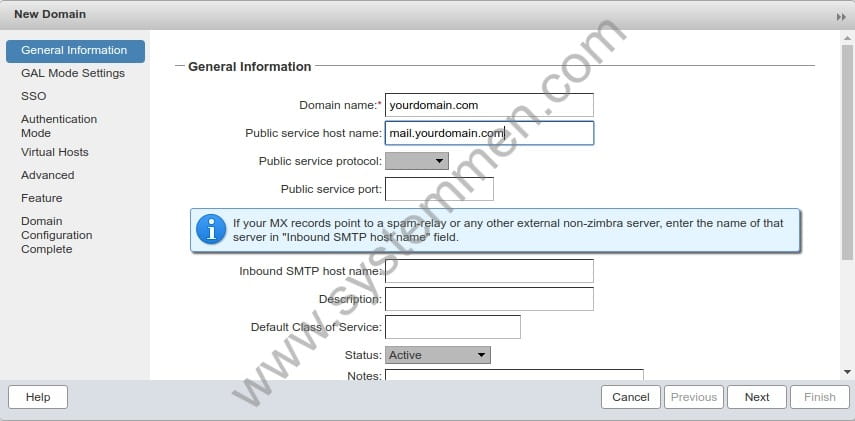
In this General Information, you enter a new domain in the Domain name box (eg: yourdomain.com) and enter the domain mail in the Public service host name box (eg: mail.yourdomain.com).
The Public service protocol section has two values: HTTP and HTTPS, you can choose HTTPS.
In the Public port section, you enter the port corresponding to the above protocol, 80 for HTTP and 443 for HTTPS.
What does this part mean? If you do not declare this Public service section, Zimbra will use the default service port to public to the user. Services such as changing passwords, for example, you may experience a service error of port 8443.
Step 3: Enter GAL information
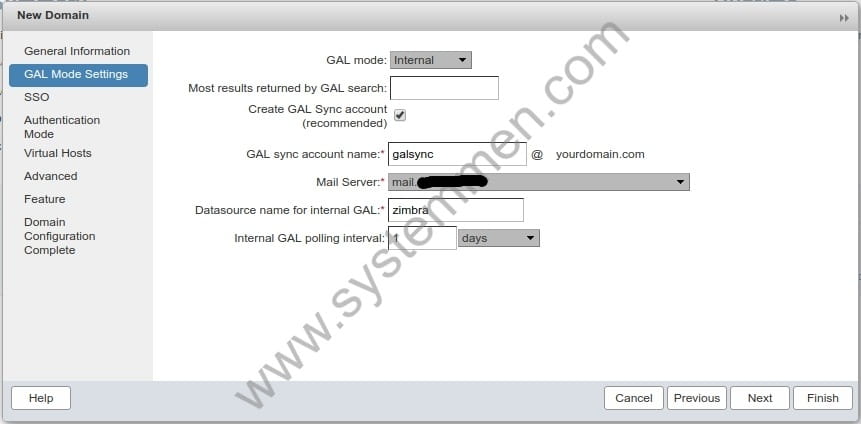
This section to create a GAL account, you only need to select your server in the Mail Server section, you can default the rest. You can read more about the GAL here.
Step 4: Set up SSO for domain mail
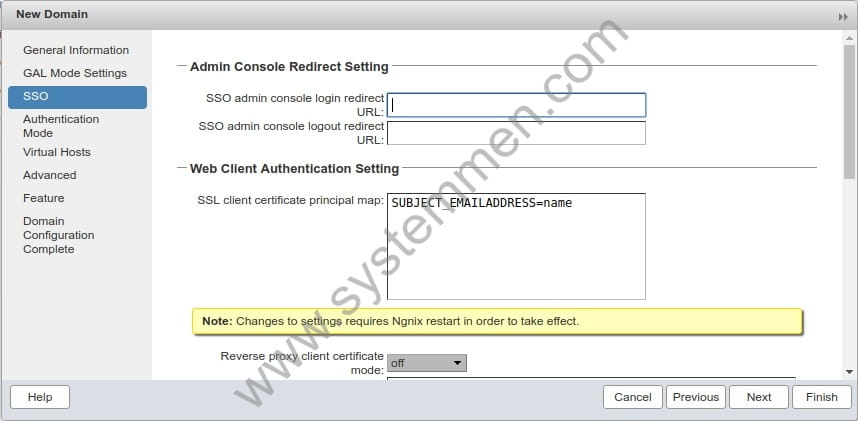
If you use SSO systems like CAS Server, you can enter the URL information in this section. In my demo, I left it blank.
Step 5: Set up authentication mode
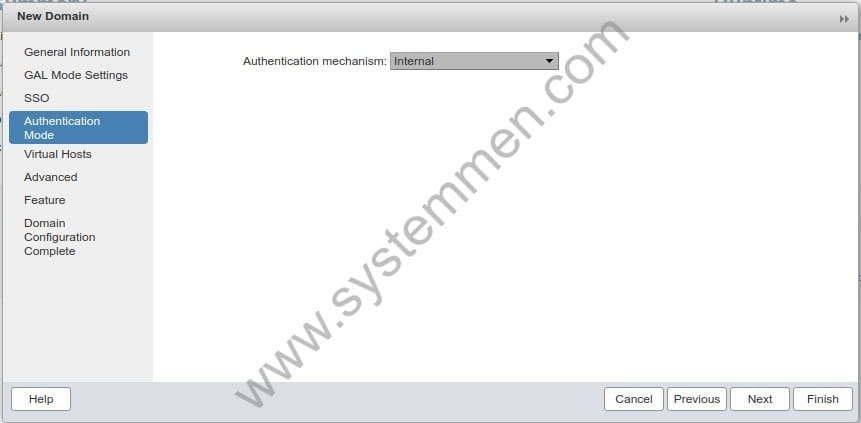
Authentication mode, I leave the default to use Internal because I run single server, LDAP in this server.
Step 6: Set up virtual host for new domain mail
This part is quite interesting, if you use Gmail, you notice that when you enter a username, you don’t have to type @gmail.com.
Creating a virtual host for the Zimbra system mail domains, allows corresponding mail domains (eg mail.yourdomain.com), the user only needs to username, for example: danie (not including @yourdomain.com).
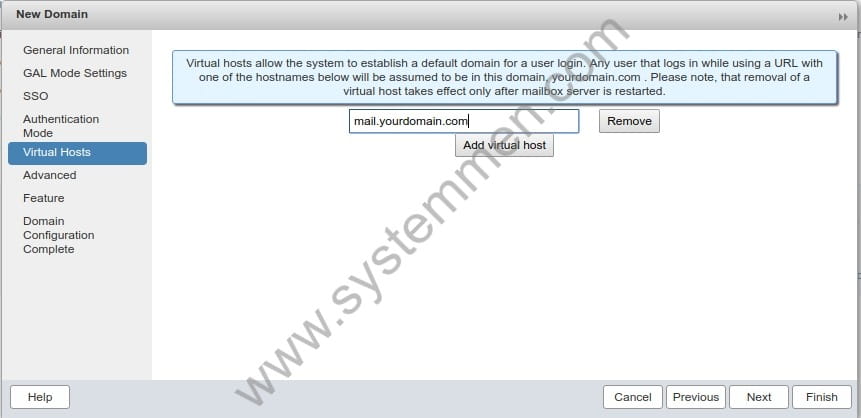
Step 7: Set up advanced CoS for new domains
In the Advanced section, you can leave the default CoS initially when installing Zimbra. Or you can optionally edit the parameters. When creating new mail accounts, these parameters will be applied to users.
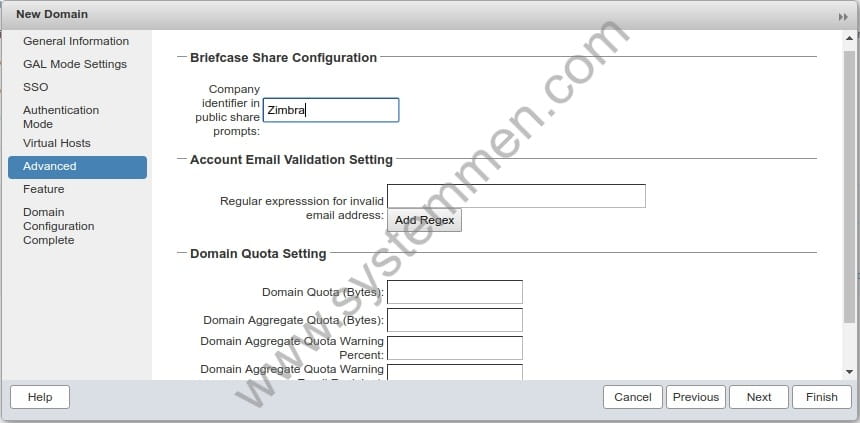
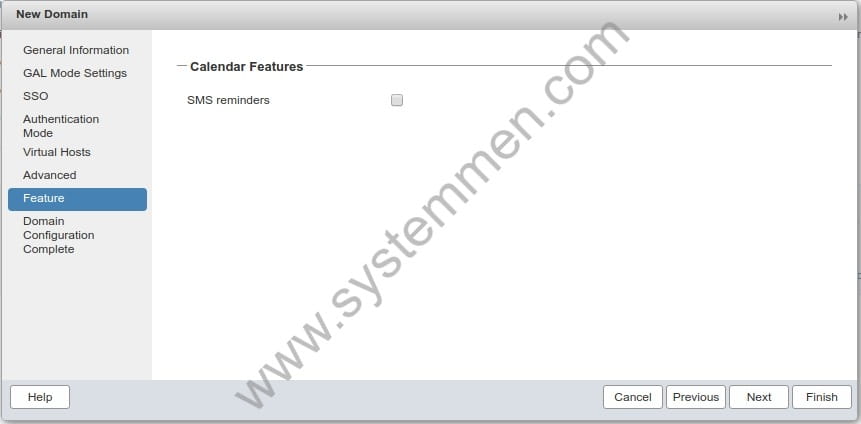
Step 8: Select enable SMS reminders feature
This section, you choose or do not choose. In the demo, I do not choose by default.
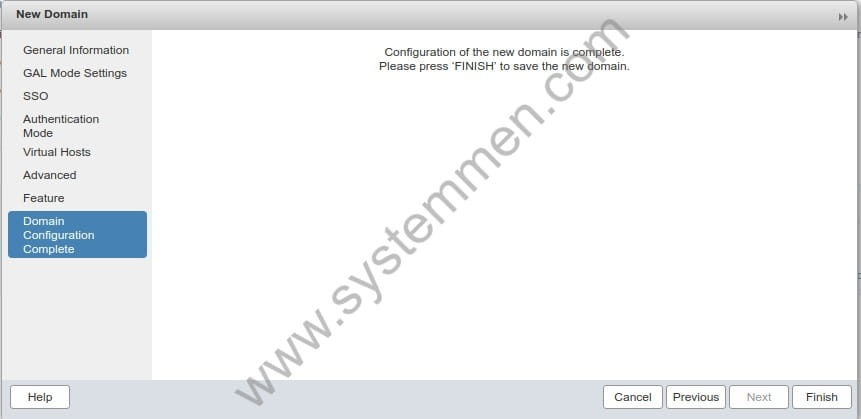
Step 9: Complete adding a domain
Conclusion
So I showed you how to add a new domain in the Zimbra system through the admin window. But the job doesn’t just stop here, you need to set up DNS public and SSL certificate for this domain too. Pretty much to do.
«« Zimbra unable to start TLS: hostname verification failedStep by step add a new domain in Zimbra from A-Z »»
