SystemMen - This article will guide you how to install Ansible AWX on CentOS 7. Ansible AWX is an open source software located on top of Ansible, which allows system administrators to manage their IT infrastructure easier.
The installation steps in this article have been successfully tested on a 64 bit CentOS Linux release 7.5.1804 (Core) server.
Hardware requirements
The system that runs the Ansible AWX service will need to satisfy the following requirements:
- RAM: at leasts 4GB of memory.
- CPU: at least 2 cpu cores.
- HDD: at least 20GB of space.
- Running Docker, Openshift, or Kubernetes.
- If you choose to use an external PostgreSQL database, please note that the minimum version is 9.4.
Install the dependency package
Step 1: Disable SElinux and reboot the server.
You run the following command to replace enforcing with disabled in the config file of SElinux.
# sed -i 's|SELINUX=enforcing|SELINUX=disabled|g' /etc/selinux/config
And then reboot the server:
# reboot
Step 2: Install the dependency packages required for AWX.
You run the following commands in turn:
# yum -y install epel-release
# yum -y install git gcc gcc-c++ lvm2 bzip2 gettext nodejs yum-utils device-mapper-persistent-data ansible python-pip
Step 3: Install Docker-CE.
First, you run the command below to remove the old version of Docker on the server (if any).
# yum -y remove docker docker-common docker-selinux docker-engine
Next, you add the Docker-CE repository to the server.
# yum-config-manager --add-repo https://download.docker.com/linux/centos/docker-ce.repo
And now you run the command below to install Docker-CE.
# yum -y install docker-ce
After installing Docker-CE, you enable and start the docker service.
# systemctl start docker && systemctl enable docker
AWX require docker python module and you can install it via pip.
# pip install -U docker-py
Then run the following command to check the installed version.
# pip show docker-py
The results displayed on the screen will be similar to the following.
---
Metadata-Version: 2.0
Name: docker-py
Version: 1.10.6
Summary: Python client for Docker.
Home-page: https://github.com/docker/docker-py/
Author: Joffrey F
Author-email: joffrey@docker.com
Installer: pip
License: UNKNOWN
Location: /usr/lib/python2.7/site-packages
Requires: websocket-client, requests, backports.ssl-match-hostname, ipaddress, six, docker-pycreds
Classifiers:
Development Status :: 4 - Beta
Environment :: Other Environment
Intended Audience :: Developers
Operating System :: OS Independent
Programming Language :: Python
Programming Language :: Python :: 2
Programming Language :: Python :: 2.6
Programming Language :: Python :: 2.7
Programming Language :: Python :: 3
Programming Language :: Python :: 3.3
Programming Language :: Python :: 3.4
Programming Language :: Python :: 3.5
Topic :: Utilities
License :: OSI Approved :: Apache Software License
Install Ansible AWX on CentOS 7
Step 1: Clone AWX from the repository.
# git clone --depth 50 https://github.com/ansible/awx.git
The result of the clone implementation will be similar to the following.
Cloning into 'awx'…
remote: Enumerating objects: 9383, done.
remote: Counting objects: 100% (9383/9383), done.
remote: Compressing objects: 100% (5148/5148), done.
remote: Total 9383 (delta 5773), reused 6229 (delta 4103), pack-reused 0
Receiving objects: 100% (9383/9383), 16.43 MiB | 7.59 MiB/s, done.
Resolving deltas: 100% (5773/5773), done.
Step 2: Edit file inventory before installation.
Move to folder awx/installer
# cd awx/installer/
Now run the command below to see what parameters are active in the inventory file.
# grep -v '^ *#' inventory | sed '/^$/d'
Here are the parameters in the default file.
localhost ansible_connection=local ansible_python_interpreter="/usr/bin/env python"
[all:vars]
dockerhub_base=ansible
awx_task_hostname=awx
awx_web_hostname=awxweb
postgres_data_dir=/tmp/pgdocker
host_port=80
docker_compose_dir=/var/lib/awx
pg_username=awx
pg_password=awxpass
pg_database=awx
pg_port=5432
rabbitmq_password=awxpass
rabbitmq_erlang_cookie=cookiemonster
admin_user=admin
admin_password=password
create_preload_data=True
secret_key=awxsecret
If you install AWX on the localhost (machine you are doing the command on it) then you do not care about the other parameters.
You just edit the two main parameters that are:
Parameter 1: admin_password.
You run the command below to edit the parameter admin_password and you change yournewpass using your password.
# sed -i 's|admin_password=password|admin_password=yournewpass|g' inventory
Parameter 2: secret_key.
Next, run the following command to automatically generate a new random string, which will be used for secret_key.
# openssl rand -base64 30
EuO3d2h8NXdb5rvfGPj0FVaZRsMV2p8dnDwY6w2Q
Then you run the command below to replace the secret_key in the inventory file with the random sequence created above.
# sed -i 's|secret_key=awxsecret|secret_key=EuO3d2h8NXdb5rvfGPj0FVaZRsMV2p8dnDwY6w2Q|g' inventory
Now that you run the command that displays the active parameters in the inventory file again, check that the value has been replaced exactly as you did. This is just to be sure, no obligation.
# grep -v '^ *#' inventory | sed '/^$/d'
The results:
localhost ansible_connection=local ansible_python_interpreter="/usr/bin/env python"
[all:vars]
dockerhub_base=ansible
awx_task_hostname=awx
awx_web_hostname=awxweb
postgres_data_dir=/tmp/pgdocker
host_port=80
docker_compose_dir=/var/lib/awx
pg_username=awx
pg_password=awxpass
pg_database=awx
pg_port=5432
rabbitmq_password=awxpass
rabbitmq_erlang_cookie=cookiemonster
admin_user=admin
admin_password=yournewpass
create_preload_data=True
secret_key=EuO3d2h8NXdb5rvfGPj0FVaZRsMV2p8dnDwY6w2Q
Step 3: Install Ansible AWX.
After you have finished editing the inventory file, run the following command to proceed with the AWX installation.
# ansible-playbook -i inventory install.yml
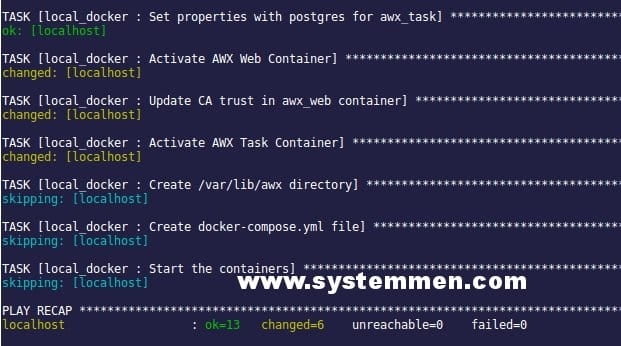
The process of creating containers and settings will take about 15-20 minutes, depending on your system.

After the installation is complete, run the following command to display the created containers. If everything is OK then 5 containers are created correspondingly as below.
# docker ps
CONTAINER ID        IMAGE                        COMMAND                  CREATED             STATUS              PORTS                                                 NAMES
748d34f72bd3        ansible/awx_task:2.1.0       "/tini -- /bin/sh -c…"   2 minutes ago       Up 2 minutes        8052/tcp                                              awx_task
a2c77e4551cc        ansible/awx_web:2.1.0        "/tini -- /bin/sh -c…"   3 minutes ago       Up 3 minutes        0.0.0.0:80->8052/tcp                                  awx_web
529da29c4be5        memcached:alpine             "docker-entrypoint.s…"   9 minutes ago       Up 9 minutes        11211/tcp                                             memcached
7c615c5b43b2        ansible/awx_rabbitmq:3.7.4   "docker-entrypoint.s…"   9 minutes ago       Up 9 minutes        4369/tcp, 5671-5672/tcp, 15671-15672/tcp, 25672/tcp   rabbitmq
1aa8573a0416        postgres:9.6                 "docker-entrypoint.s…"   11 minutes ago      Up 11 minutes       5432/tcp                                              postgres
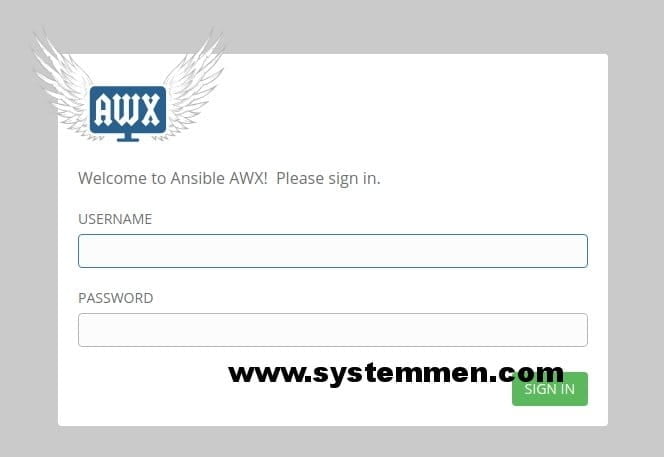
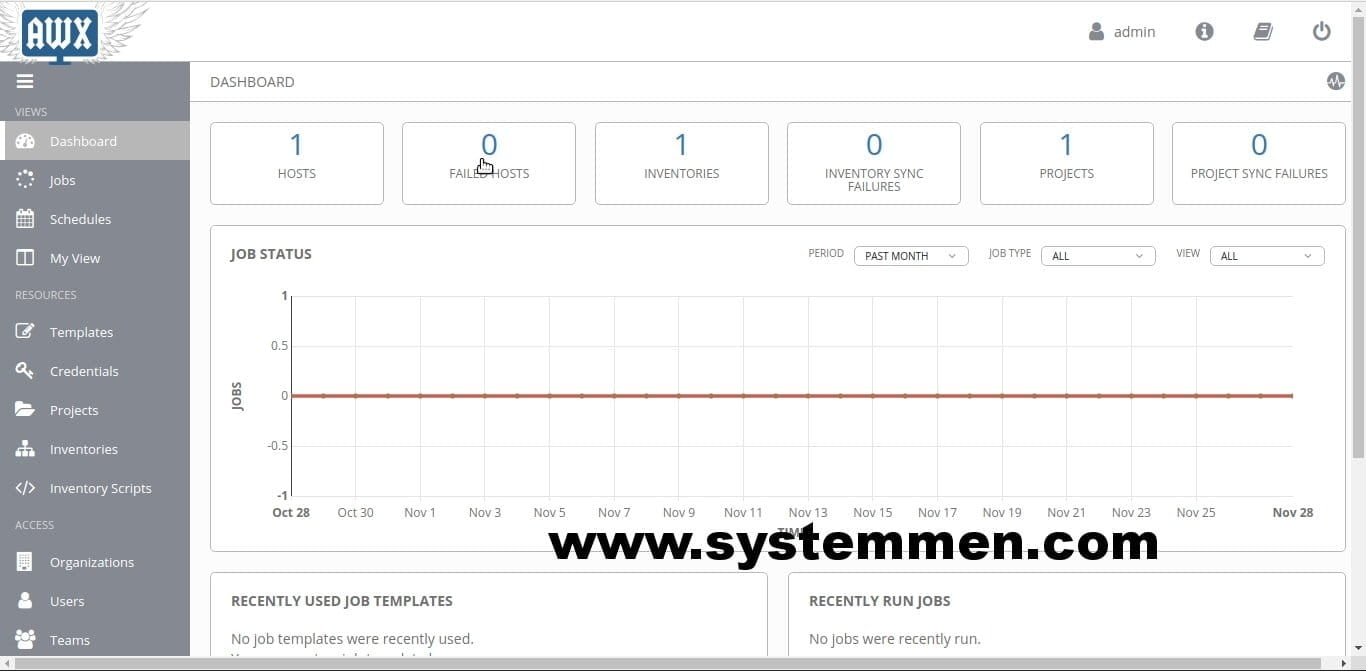
Now open your browser and access the AWX interface with your server’s IP. Ex: http://192.168.10.10

Inside dashboard look like this.

Setup HTTPS
To set up https for the AWX login page, you can use a reverse nginx proxy with an SSL certificate on it.
This nginx server can be installed separately from AWX server or install with AWX.
Since the article has been quite long and the purpose is to successfully install Ansible AWX first, the reverse proxy settings I will write in the next section.
«« Prepare resources for nginx reverse proxy serversWget download a file and save as a different filename »»
Hi,
following the instructions, I installed AWX, but what credentials should I enter to log in.
Subscription to Ansible is required compulsory?
Please guide.
Still not able to get this working. Receiving following error:
TASK [local_docker : Start the containers] **************************************************************************************************************************************************************************************************
fatal: [localhost]: FAILED! => {“changed”: false, “msg”: “Failed to import docker or docker-py (Docker SDK for Python) — No module named docker. Try `pip install docker` or `pip install docker-py` (Python 2.6).”}
Install python3 and python3-pip
run pip3 install docker-compose
after that change “/usr/bin/env python” to “/usr/bin/env python3” then run the playbook again
Great article!
Thanks!
An exception occurred during task execution. To see the full traceback, use -vvv. The error was: SyntaxError: invalid syntax
fatal: [localhost]: FAILED! => {“changed”: false, “module_stderr”: “Traceback (most recent call last):\n File \”/root/.ansible/tmp/ansible-tmp-1578309070.85-243878990646741/AnsiballZ_docker_compose.py\”, line 102, in \n _ansiballz_main()\n File \”/root/.ansible/tmp/ansible-tmp-1578309070.85-243878990646741/AnsiballZ_docker_compose.py\”, line 94, in _ansiballz_main\n invoke_module(zipped_mod, temp_path, ANSIBALLZ_PARAMS)\n File \”/root/.ansible/tmp/ansible-tmp-1578309070.85-243878990646741/AnsiballZ_docker_compose.py\”, line 40, in invoke_module\n runpy.run_module(mod_name=’ansible.modules.cloud.docker.docker_compose’, init_globals=None, run_name=’__main__’, alter_sys=True)\n File \”/usr/lib64/python2.7/runpy.py\”, line 176, in run_module\n fname, loader, pkg_name)\n File \”/usr/lib64/python2.7/runpy.py\”, line 82, in _run_module_code\n mod_name, mod_fname, mod_loader, pkg_name)\n File \”/usr/lib64/python2.7/runpy.py\”, line 72, in _run_code\n exec code in run_globals\n File \”/tmp/ansible_docker_compose_payload_MImJMr/ansible_docker_compose_payload.zip/ansible/modules/cloud/docker/docker_compose.py\”, line 483, in \n File \”/usr/lib/python2.7/site-packages/compose/cli/command.py\”, line 12, in \n from .. import config\n File \”/usr/lib/python2.7/site-packages/compose/config/__init__.py\”, line 6, in \n from .config import ConfigurationError\n File \”/usr/lib/python2.7/site-packages/compose/config/config.py\”, line 50, in \n from .validation import match_named_volumes\n File \”/usr/lib/python2.7/site-packages/compose/config/validation.py\”, line 12, in \n from jsonschema import Draft4Validator\n File \”/usr/lib/python2.7/site-packages/jsonschema/__init__.py\”, line 33, in \n import importlib_metadata as metadata\n File \”/usr/lib/python2.7/site-packages/importlib_metadata/__init__.py\”, line 9, in \n import zipp\n File \”/usr/lib/python2.7/site-packages/zipp.py\”, line 12, in \n import more_itertools\n File \”/usr/lib/python2.7/site-packages/more_itertools/__init__.py\”, line 1, in \n from .more import * # noqa\n File \”/usr/lib/python2.7/site-packages/more_itertools/more.py\”, line 460\n yield from iterable\n ^\nSyntaxError: invalid syntax\n”, “module_stdout”: “”, “msg”: “MODULE FAILURE\nSee stdout/stderr for the exact error”, “rc”: 1}
please inform how to fix this error
Any resolution? getting the same error
please uninstall and reinstall docker using pip and also uninstall docker-py and install docker compose
pip uninstall docker docker-py docker-compose
pip install docker-compose
Hi guys,
This is the error i get when i try to install awx..any ideas?
TASK [local_docker : Start the containers] **********************************************************************************************************************************************
fatal: [localhost]: FAILED! => {“changed”: false, “msg”: “Unable to load docker-compose. Try `pip install docker-compose`. Error: Traceback (most recent call last):\n File \”/tmp/ansible_docker_compose_payload_sQH9KA/ansible_docker_compose_payload.zip/ansible/modules/cloud/docker/docker_compose.py\”, line 482, in \nImportError: No module named compose\n”}
PLAY RECAP ******************************************************************************************************************************************************************************
localhost : ok=11 changed=0 unreachable=0 failed=1 skipped=95 rescued=0 ignored=0
hi can you help me i have this error
It says destination directory /home/bounty/.awx/awxcompose does not exist
Hi mate,
Thanks for making life easier. you may need to update few things. this is totally my suggestion based upon recent experience.
I am installing AWX on Centos7.7
1. include the step to configure python interpreter version based upon requirement i.e. 2.7 or 3.6
2. update the inventory file accordingly with correct python interpreter.
3. recently docker-compose is required which installs docker and other . so, if we install as per the step it gives error “Cannot have both the docker-py and docker python modules installed together as they use the same namespace and cause a corrupt installation” error installing AWX
Even though my example involves AWX,.
Solution:
pip uninstall docker docker-py docker-compose && pip install docker-compose