SystemMen - This article will show you how to install VestaCP in CentOS 7 quickly.
You have briefly read about VestaCP that I wrote earlier. Now, we will try to install it in CentOS 7 and see how it works.
Server requirement
A VPS has the following configuration (this is the usual configuration):
- OS: CentOS 7.6.1810 (Core)
- CPU: 1 vCPU
- RAM: 1 GB
- HDD: 20 GB
- User: root
Install VestaCP in CentOS 7
The installation steps are as follows.
First, use the following command to download the VestaCP installation script.
curl -O http://vestacp.com/pub/vst-install.sh
Next, go to the installation instructions page and select the items you want to install. Then click the Generate Install Command.
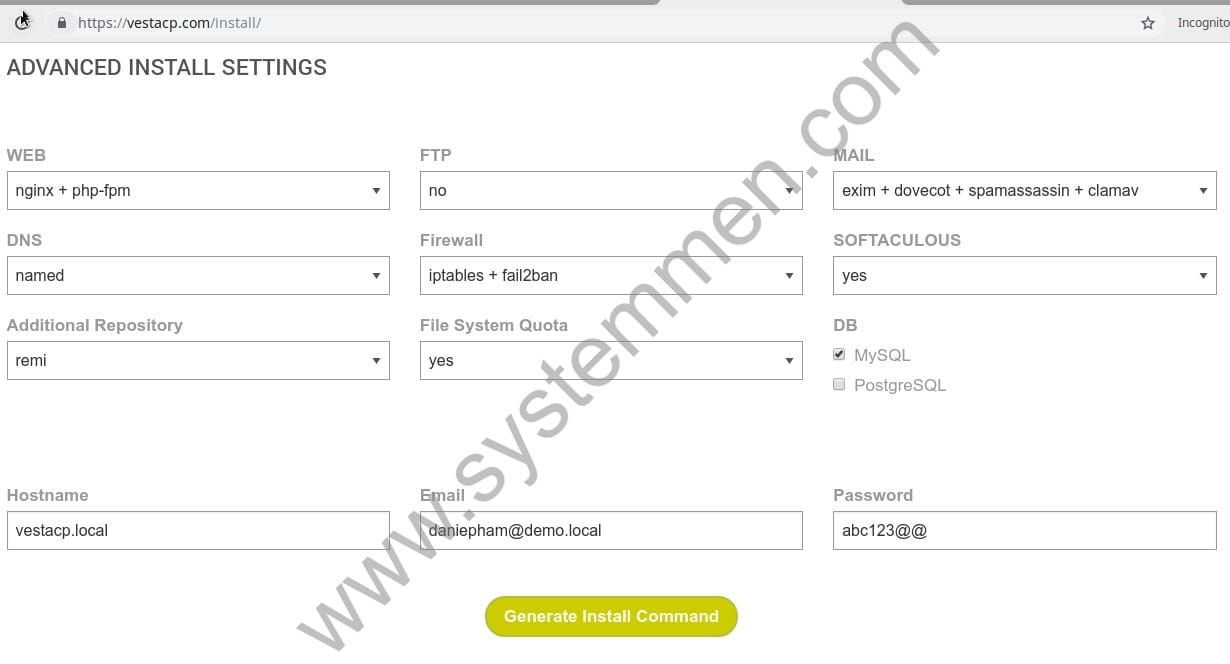
For example in this demo, I just want to install the following:
- Nginx + php-fpm
- DNS
- Firewall
- Softaculous
- Remi Repository
- Quota
- MySQL
And do not want to install the following:
- FTP
- PostgreSQL
You can customize according to your needs.
Then you get the command line you need.
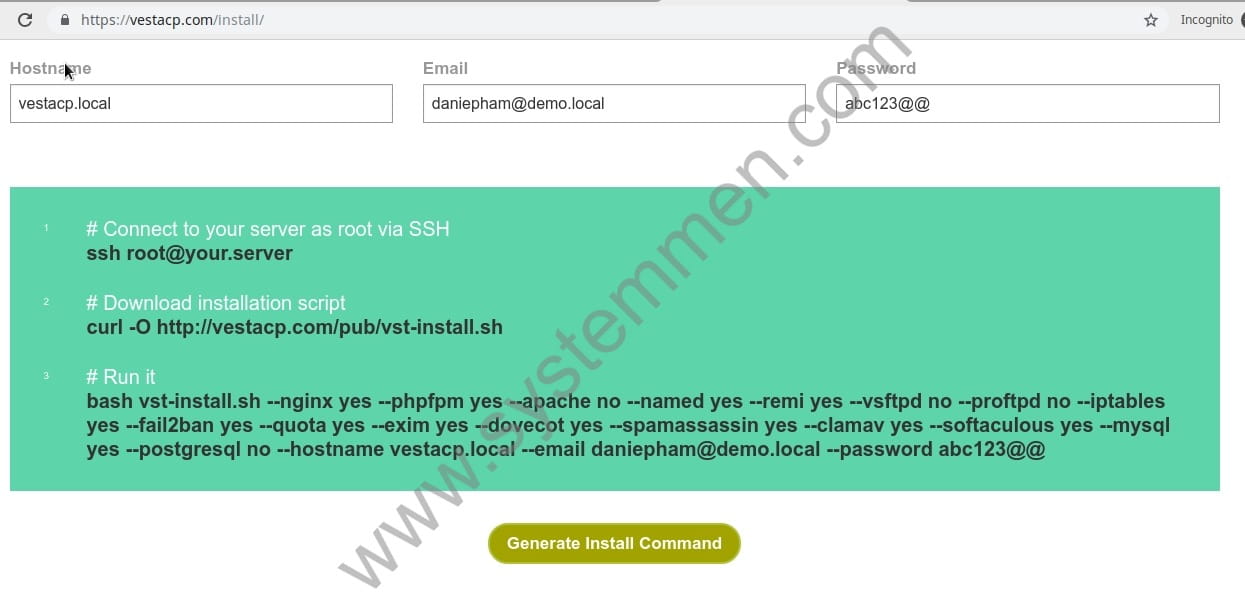
bash vst-install.sh --nginx yes --phpfpm yes --apache no --named yes --remi yes --vsftpd no --proftpd no --iptables yes --fail2ban yes --quota yes --exim yes --dovecot yes --spamassassin yes --clamav yes --softaculous yes --mysql yes --postgresql no --hostname vestacp.local --email daniepham@demo.local --password abc123@@
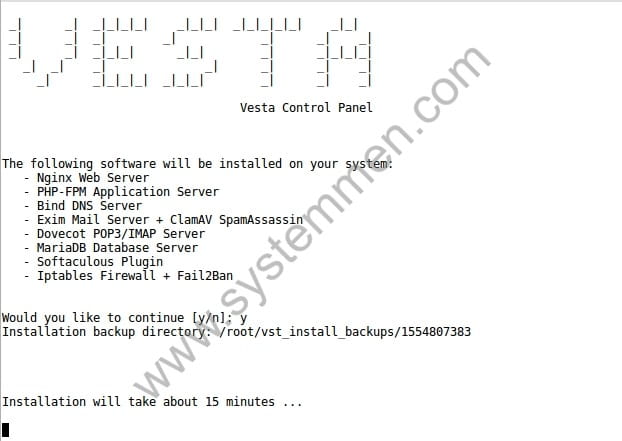
And finally you run the installation command above. Depending on the network speed, the installation can take 5 — 20 minutes.
After the installation is complete, the installation window will have results that look like this.
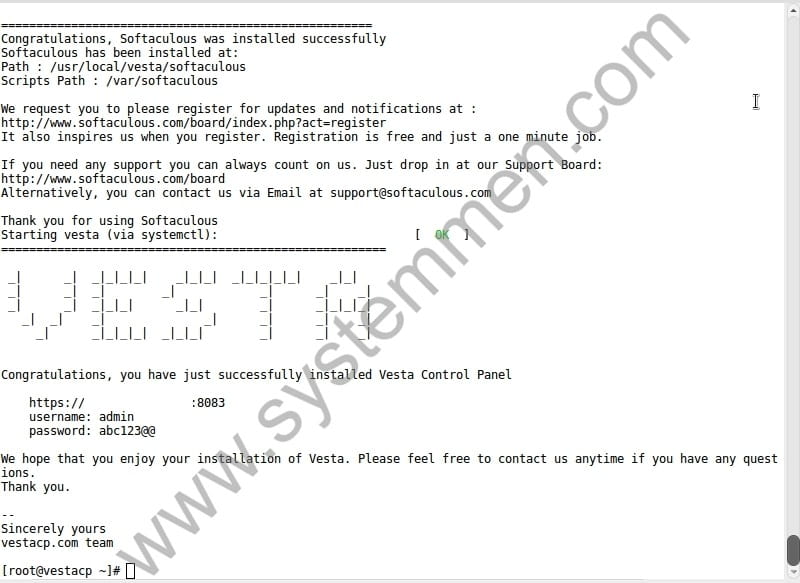
You sympathize because I deleted the IP part at the access URL with port 8083.
First login to VestaCP
Now, you have a complete panel to administer your own hosting.
You have the https://IP:8083 path to access the admin window.
If you encounter a connection error, then check the firewall firewall on the CentOS 7 port that has opened the port.
If so, then check the physical network firewall.
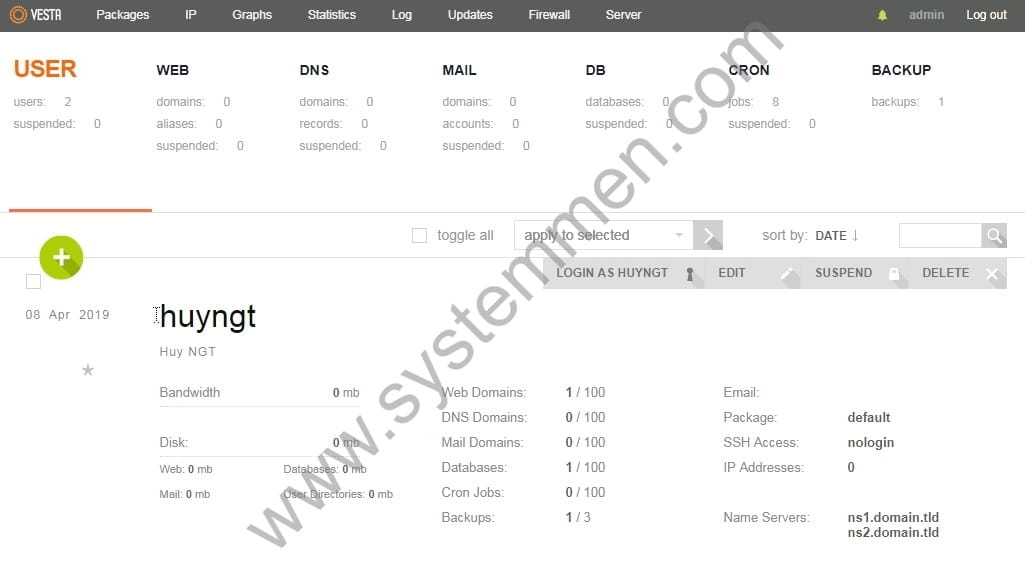
You enter the user and password as in the installation command, ex: admin / abc123@@. And this is the first window of VestaCP.
Conclusion
Congratulations on successfully installing VestaCP, the installation steps are quite simple.
In the following articles, I will show you how to adjust hosting VestaCP so it works better.
«« Introducing free hosting panel VestaCPHow to update VestaCP to PHP 7.3 »»

